
There’s something about fall weather than makes me crave a good manicure. The drop in temperature, and turning leaves make me want to break out my knee high boots, big sweaters and apply a great fall manicure in a deep berry tone, a dark purple or even a classic red shade.
Over the years, I think I’ve tried just about every nail product out there in my quest to further perfect my at home manicure technique. Would a different base coat give me a longer lasting manicure? Maybe that top coat would be shinier, or a different cuticle gel would work even faster.
It’s been years since I shared an updated version of my DIY nail polish routine. From start to finish, this process takes me about 10 minutes, then drying time after that. My typical manicure lasts completely chip free for 7 days, and then I change the color.

Remove Old Polish
My first step is always cleaning up. I remove old polish, making sure to get all of those bits that like to cling around the outer edges. My favorite polish remover is hard to find, but it’s always available on Walmart’s website. It immediately removes polish, but is much less drying because it doesn’t contain acetone. I use these cotton rounds, I like that they have a textured side, I think it helps get every last bit of polish as quickly as possible.
Cuticle Prep
While I’m really good at using lotion after washing and I apply cuticle cream every night, all of the hand washing and foaming and gel using that we do in the hospital definitely takes its toll on my cuticles! I start with my favorite cuticle remover. It’s really fast and easy to use, I wet my hands, put a little bead of remover on my cuticles and rub it around. Then I run my thumbnail along the edges and wash my hands. The whole process is only a minute or two, but it makes a huge difference!
Nail Shaping
Now I’m ready to shape my nails! I’m not allowed to have my nails long at work, so I just use a nail file to shape them a little rounded but short. I also will use a buffing block to reduce the ridges on my nail surface. Don’t buff to a shine, if the nail plate is too shiny your polish won’t be able to adhere.
Application
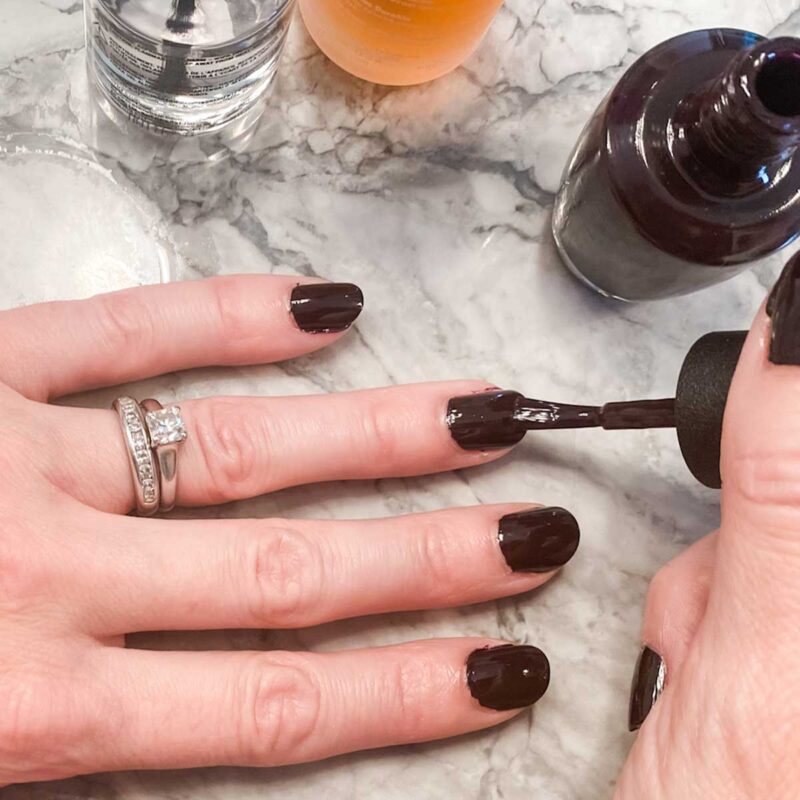
Finally, I’m ready to start applying polish! After years of trying other products, my best combo by far is Orly Bonder Base Coat and Seche Vite Top Coat. After trying almost every polish brand out there, I stick to just a few brands. One of my go-to brands is OPI, pictured here in Good Girls Gone Plaid and Funny Bunny.
When applying to the nail, I always do the same pattern. I start in the middle of the nail, placing the brush a few millimeters from the cuticle. I slightly push it up toward the cuticle (to lessen the gap), and then pull it down to the tip. I do the same on either side of the initial brushstroke, and at the end I run the brush along the nail edge to seal it in.
I start with one light layer of Bonder. It dries very quickly and by the time I finish all 10 nails I can start applying polish to the first nail. I prefer to do 3 thin coats of polish over 2 thicker coats, the results are more even and last longer. I don’t wait long in between coats of polish. You can wait for it to dry, or you can apply over still wet polish. I haven’t noticed a difference in look and wear for me.
I wait a few minutes between my final color coat and the top coat. Seche Vite is a bit thicker than most other top coats, and I’ve found that if I apply too early, it will lift up some of the nail polish. Allowing the color coats to set for about 2-3 minutes can make a big difference! I do the same pattern of application with the top coat, but I pay particular attention to the final nail edge stroke as that really determines how long my manicure will last.
Clean Up
Once my nails are dry, I spend a few minutes removing excess polish. While I have a lot of practice doing my nails, I’m definitely not perfect. My favorite way for cleaning up mistakes is to use a little acetone with a stiff, angled brush. My favorite is an ELF brush, which I can’t find on the Walmart site but I bought it years ago at my local store. The brush is stiff enough to have traction along the nail edge, it can fit under the tip of my nail to get mistakes there. I wipe the brush on to a cotton round or tissue in between fingers.
Moisturize
At the very end of the manicure I like to apply CND Solar Oil, which is my favorite super hydrator for cuticles. I apply a light swipe across the base of each nail and then gently rub in with a finger tip. My cuticles absorb the oil almost immediately.
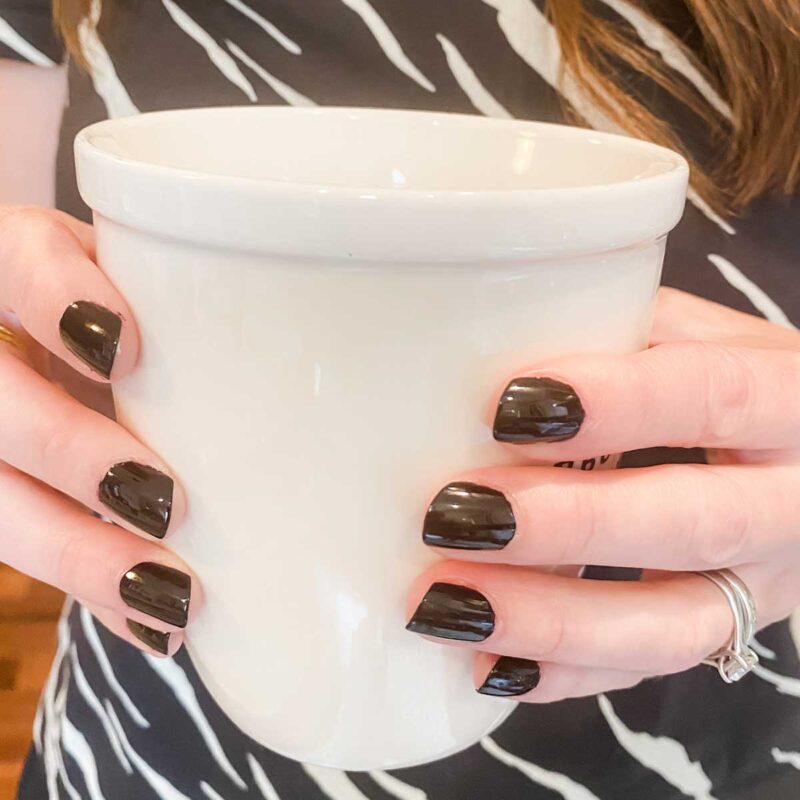
It’s taken years to perfect this technique, but I can get a salon worthy manicure at home in under 10 minutes! The same high quality products are easy to order from Walmart, or pick up when I’m doing a quick run to the store. This manicure lasts me a full week, even on weeks that I’m in the hospital with near constant hand sanitizer use. It could likely last longer, but at the end of the week I’m itching for a new color and I’m excited to pick out a new shade!
Shop the Post

 I’m a doctor, a mommy and a bit of a beauty addict. If you let me, I can take 2 hours to get ready in the morning. Really. I'm on a quest for faster beauty that works!