One of the biggest makeup tips for over 45 is to not use anything powder and to move all of your makeup to creams. Which it turns out, it a bit easier said than done! Now that I’m 45, I’ve been wondering if this really is “the secret” to better looking makeup, but whenever I tried to change over to creams, by mid-day I felt that I had a lot of makeup that was caking on my face, it felt heavy and greasy. Touching my face would immediately remove all makeup in that area, so I couldn’t even scratch my nose.
It turns out that you can’t just convert all of your makeup over to a cream version and have it work immediately. For me, I needed to redirect my thinking about makeup. I went from covering up my skin to letting my skin shine through a bit more and just enhancing what I have. Previously I was applying medium to full coverage makeup all over and then adding dimension back in to my face with contour, bronzer and blush. After the change over, I’m covering up much smaller trouble spots and using blush and bronzer to enhance my skin, but not necessarily add dimension back in. I’m happy to report that yes, the results are pretty good. I think my face makeup is now lasting longer and looking fresher, it doesn’t cake and it doesn’t sink into any fine lines. I still sometimes use traditional powder shadows, but I like to have different options.
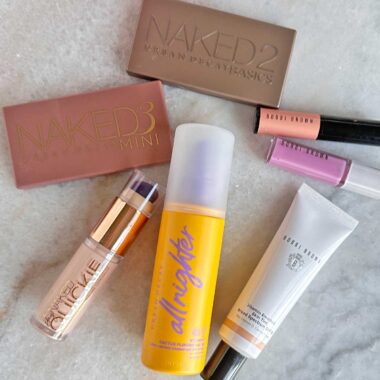
I’m sharing my best tips for the over 45 cream makeup conversion, including specific product recommendations! As usual, I bought mine from Sephora. I purchased one of my latest finds (the Urban Decay concealer) before it was available to everyone due to my status as a Rouge member of the Beauty Insider Program. I also love to try out new products by spending my points on deluxe samples, or stocking up on favorites during the savings events! Make sure you sign up if you’re not already a member.
1. Super hydrate your skin first
Because my skin is a bit more visible, it needs to look it’s best! Super hydrating my skin with a great moisturizer first makes a big difference in overall application. A generous application of moisturizer under my makeup is a great way to prep, but it needs about 5 minutes to really sink in to my skin. I apply moisturizer and then go make the bed and select my outfit for the day. That seems to be just the right amount of time to allow my skin to be perfectly prepped for makeup.
I have a splurge option here as well, which I really do love! One of my favorite priming moisturizers is also newly arrived a Sephora! So there are great options at all price points.
My Favorites:
• La Mer The Moisturizing Soft Lotion
• Glossier Priming Moisturizer
2. Color Correct
It seems that no matter how much sleep I get, I perpetually have some darker circles under my eyes. My makeup looks much better when I start with a little color correction under my concealer, rather than piling on many layers of full coverage concealer.
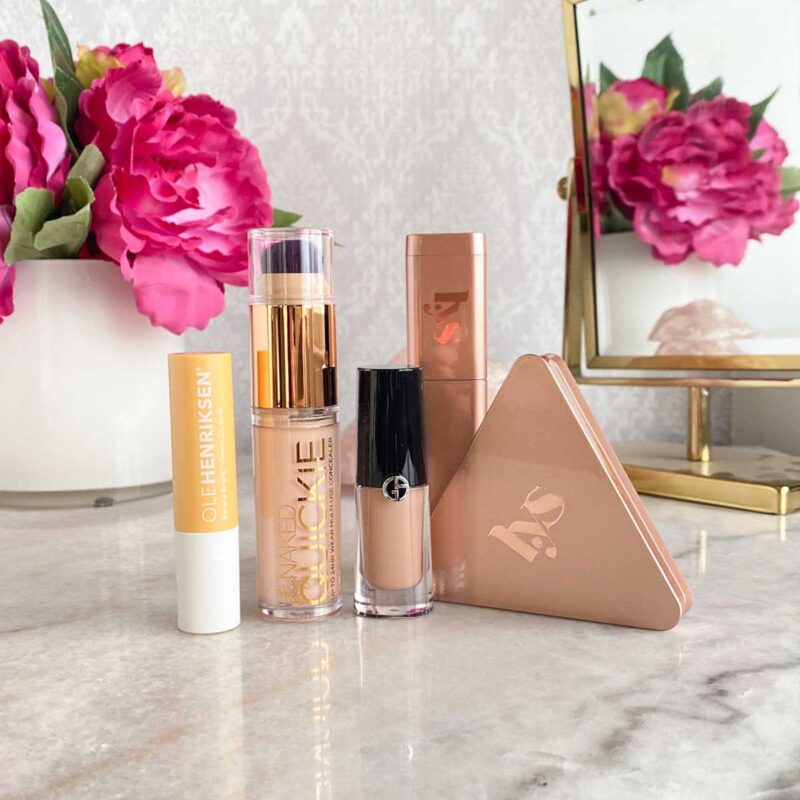
Something different that I’ve been trying lately is the OleHenricksen Banana Bright Sticks. They have a very light coverage color corrector included in them, so you’re combining 2 steps into one. I do like that the coverage is pretty light, you wouldn’t need to put concealer over them if you didn’t want to, unlike more traditional color correction products. I’ve been using the lightest shade, banana, which is a little more yellow than peach. For days that my circles are darker, I need a more vivid peach corrector. I’ve really been loving the new Givenchy corrector for that, the liquid blends effortlessly and is very light on my skin.
My Picks:
• OleHenriksen Banana Bright+ Vitamin CC Eye Sticks
• Givenchy Prisme Libre Skin-Caring Corrector
3. Go for Lighter Coverage and Minimize the Number of Layers
I think creams work best with fewer, lighter layers of makeup with less coverage. A full coverage product, and then needing more than one layer? To me that’s a recipe for heavy, greasy feeling skin by the middle of the afternoon. Allowing your skin to show through is definitely the way to go.
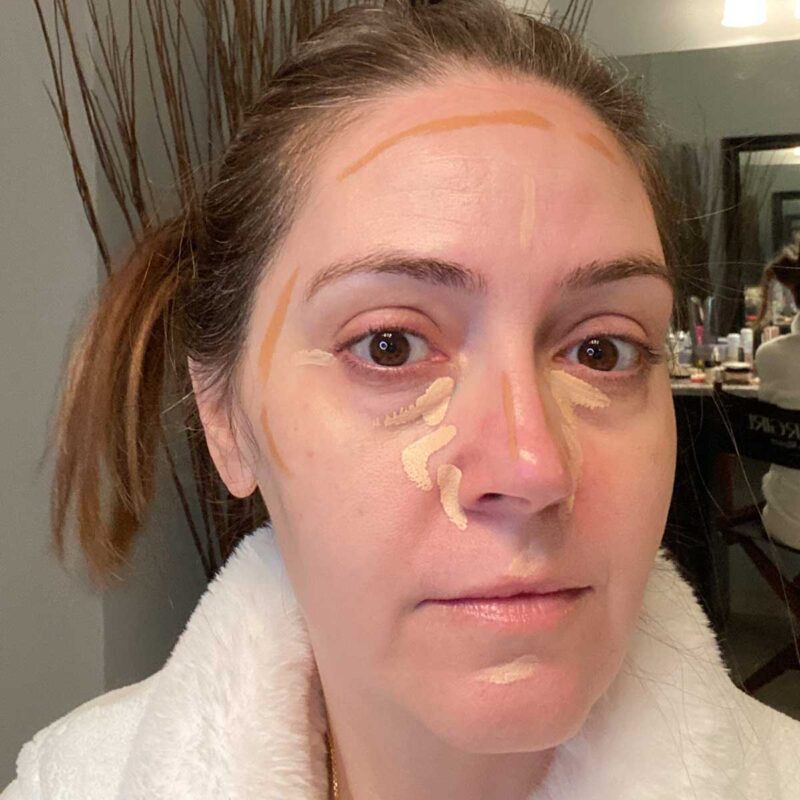
First, I apply targeted medium to full coverage concealer that I can spread easily. Dior recently reformulated their Forever Skin Concealer, and it is great for under my eyes. If I want to extend concealer usage and just blend it over my face a bit more (skipping concealer), I’ve been reaching for the new Urban Decay Quickie instead. It has a bigger wand and just feels a bit easier to apply, but both give medium to full coverage that lasts all day without caking.
Before I blend my concealer, I grab my LYS Beauty Contour Stick. This was one of my sticking points for going fully cream with my makeup, I had a hard time finding a cream contour/bronzer that blended well on bare skin, didn’t make my skin look dirty and lasted all day. This is it, the best cream bronzer I could find, by far. The color is perfect for my lighter skin, and I love that the stick has straight edges, which makes it easier to contour my nose. I go around the edges of my forehead, on my cheekbones (not under), and down the sides of my nose.
When I blend, I use a thick brush that is slightly rounded, I’m usually grabbing my IT Cosmetics Heavenly Luxe Complexion Perfection Brush #7. When I blend I work in small circles of patting/buffing the brush. Having the concealer and bronzer on at the same time like this means that I’m blending the bronzer and concealer into 1 light layer of makeup, and I swear this helps keep my makeup lighter than if I applied concealer/foundation and then a bronzer.
My Favorites:
• Dior Forever Skin Concealer
• Urban Decay Quickie 24H Multi-Use Hydrating Full-Coverage Concealer
• LYS Beauty No Limits Cream Bronzer and Contour Stick
• IT Cosmetics Heavenly Luxe Complexion Perfection Brush #7
5. Use brushes instead of fingers
Once I have my basic makeup on, I have to really fight the urge to just apply everything else with my fingers. Cream Blush and a liquid eyeshadow will both look much better if you apply them using brushes!
I love this blush from LYS Beauty (this shade is Self Love), but to get the perfect glow you really do need to use a traditional blush brush. With my fingers, all cream blushes end up splotchy and won’t blend correctly. But using a brush… glowy perfection. Self Love is the perfect dusky pink that works on all skin tones, and unlike other cream blushes, is well pigmented. I need 1 layer of blush and that’s it. No layering to get the color to show up.
In the past, I’ve tried many liquid and cream eye shadows, but haven’t gotten the results I wanted. There are 2 secrets, the first is to use a brush for apply. The second secret is that it works best if you lay down an all over base of the same shadow. I’ve tried applying traditional shadow base, powder, concealer… none of them get me the color pay off or long wear that I want. Armani just released matte shades of their Eye Tint (I bought #18, Light Nude), and it is the perfect match for my skin tone and creates a perfect base for other liquid shadows. I can wear it alone or layer it under a shimmer like #11 or #12.
When applying liquid shadows, I use a small shadow brush and directly pick up the product from the applicator. I dip the brush into the shadow on the applicator and then tap the shadow on to my lid. Work quickly and in small sections, tapping and blending as you go. The shadow dries within a few minutes, and then it won’t budge. For a less concentrated look such as a pretty wash of color, I use a looser, but still small brush. The end result is a super long lasting eye look that looks great!
My Favorites:
• LYS Beauty Higher Standard Satin Matte Cream Blush
• Armani Beauty Eye Tint Long-Lasting Liquid Eyeshadow
6. Use powder very selectively
Once I’ve applied all of my cream products, I still need to set my makeup. I’ve found that I still need to set my undereye area and my t-zone. A very small amount of powder on a puff works best for me, and while there are a lot of powders that I have tried and loved, I keep coming back to the Charlotte Tilbury brightening powder. It has a tiny bit of shimmer, which makes my face look brighter and glowy. Press the puff into the powder and then press the puff into your skin where you need it.
My Picks:
• Charlotte Tilbury Airbrush Flawless Finish Brightening Powder
• beautyblender POWER POCKET PUFF™ Dual-Sided Powder Puff
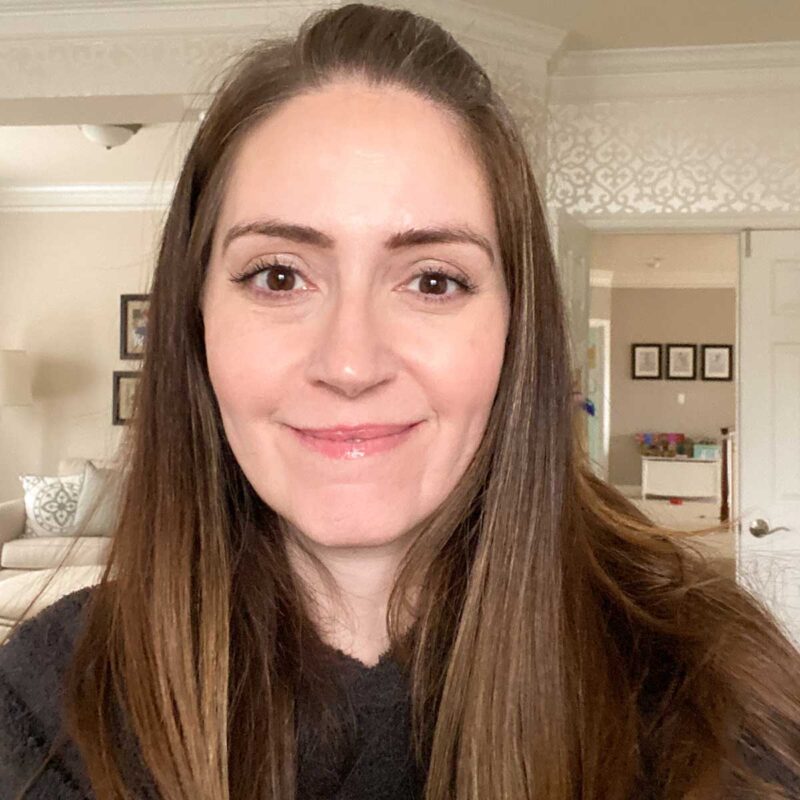
What cream products have you tried? Here’s a look at my makeup at the end of a long day at work. Pretty good for 45 and post 8 hours of running around the hospital!
Shop the Post

Sponsored Post
This post is a collaboration with Sephora, but the product choices and opinions are all my own.
 I’m a doctor, a mommy and a bit of a beauty addict. If you let me, I can take 2 hours to get ready in the morning. Really. I'm on a quest for faster beauty that works!