
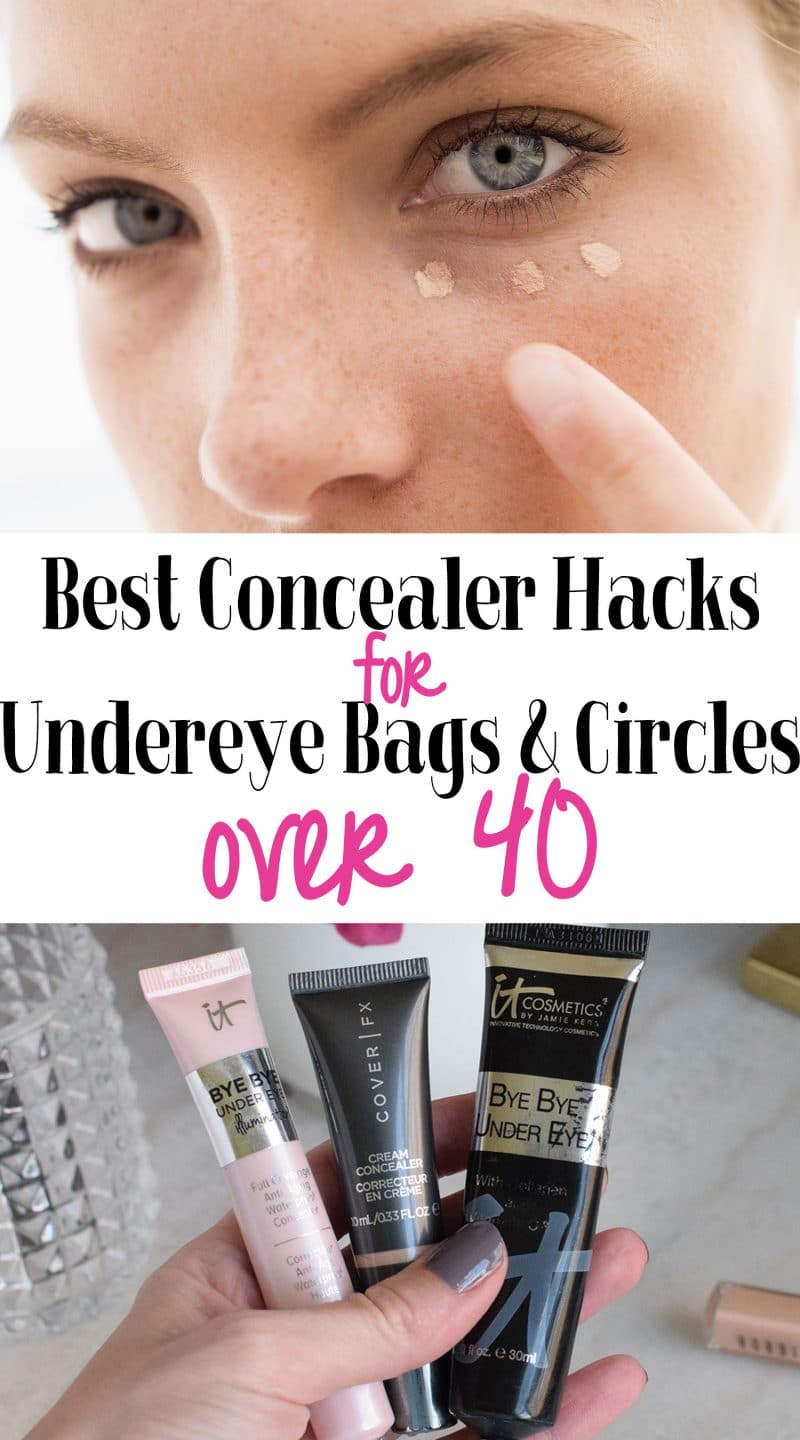
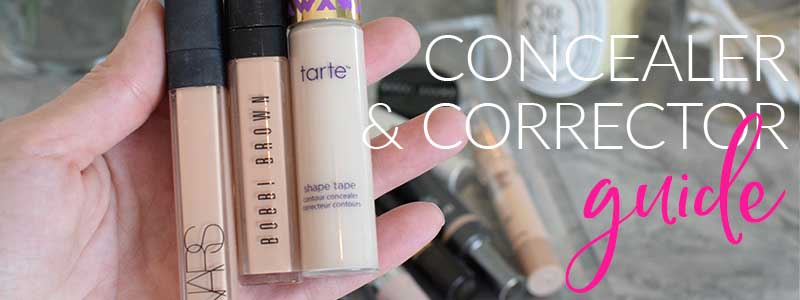
Over the years I’ve written a lot about concealer, you can check out a lot more posts in my concealer and corrector guide, there are great lists of the best products and concealer hacks. I’ve recently turned 40, and despite my diligence with sunscreen and good eye cream, things aren’t quite the same in my undereye area.
I’ve decided it’s time to share my concealer hacks for dealing with the undereye area if you’re over 40. Those tips about baking on your concealer with powder just don’t work once you’re over the age of roughly 24. Here are my favorites!
Remove all of your old makeup
This seems intuitive, but it’s surprising how often this is part of the problem. Today’s long wearing eyeliners and mascaras are very difficult to get off completely. Simply washing your face with a good face wash at night isn’t enough, you’ll need to remove even regular eye makeup with a good eye makeup remover as well. I’ve also found that there are mornings that I still wake up with a little mascara smudged under my eyes, no matter how great I thought my makeup removal was the night before! So, I start my morning skincare routine with another round of eye makeup remover.
My favorites:
Lancome Bi-Facil Double-Action Eye Makeup Remover
It Cosmetics Bye Bye Makeup 3-in-1 Makeup Melting Cleansing Balm
Prep The Area With Eye Cream
I know there are lots of dermatologists that feel like eye creams are a gimmick. I’ve interviewed most of them! But, I have to say that while they might contain many of the same active ingredients found in regular face lotions and serums, I think there isn’t a replacement for the extra hydration you’ll get with an eye cream.
I apply a good eye cream to my undereye area right after I wash my face, staying about 1/2 cm from my lash line. If I apply the cream right up to the lash line, it does a great job of melting my mascara and making it smudge. So, I stay away from the lash line and gently pat the cream in to my skin. Look for an eye cream that sinks into your skin quickly as greasy residue will mess up your makeup application. If your cream is taking a while to sink into the skin you can gently pat the area with a tissue to get rid of any excess cream.
Prime Under Your Eyes
Honestly, I don’t do this step, but I’ve had a few sitting in my Sephora cart for ages. If you have a lot of creasing or your concealer wears off by mid-day, consider a (very) light coat of primer. I’ve heard that this primer is the best to use for undereye concealer, but I have used this shadow primer in the past with success.
Color Correct
My next step is color correction. I don’t apply my color correcting products over anything that is skin toned, It makes my skin look grey and ashy if I do. Instead, as soon as my cream is absorbed I color correct and gently blend in the corrector with a fingertip or a sponge.
When color correcting, work in very light layers and chose the least vivid corrector that you can use and still correct the discoloration. Darker discoloration and darker skintones need more vivid correctors. I also avoid cream and powder correctors for my undereye area as they tend to look cakey. Apply your color corrector only to the area of actual discoloration.
Note that you might correct one discoloration only to reveal another! I get my best results when I first correct the blueness with peach/orange, and then I need to correct redness with green.
My Favorites:
YSL Touche Éclat Neutralizers
Giorgio Armani Master Corrector
Reflect the Light
I go through phases of my eyes need a bit more brightening before concealer, mostly this seems to be related to sleep (being on call doesn’t help that!) and how my allergies are doing. A brightening product sometimes is a bit tinted (most of my favorites are light peach), but this isn’t enough color correction for me. If you have lighter circles than me, there is a chance this will be enough for you! I apply this in the triangle under my eyes (more on that below), in a very light layer.
My Favorites:
Trish McEvoy Instant Eye Lift
YSL Touche Éclat
Pick The Right Concealer
I used to grab the more pigmented concealer I could find, but now that’s just asking for creasing and caking. Instead, I look for a lighter consistency but medium to full coverage that will build as I apply light layers. I’ll share a full post in a few days going over more options and how I use my different kinds of concealers.
Note, when choosing an undereye concealer, you need to be pretty careful about the shade you pick. There was this old advice to pick a few shades lighter than your actual skin tone, and then when contouring went crazy (thanks Kim K!), a lot of bloggers started using concealer under their eyes that was more like 4-5 shades lighter than their actual skintone, for a “brightening” effect. In person, this looks strange. Like you’re a clown and can’t pick out the right makeup. It also calls attention to any wrinkles you have in the area and can take on a grey tint over dark circles or color correctors. I look for a concealer that is the same shade as my skin or at the most 1 shade lighter. You want a very close match, and keep in mind you might need a new shade match a few times a year.
My Favorites:
NARS Radiant Creamy Concealer
Bobbi Brown Instant Full Cover Concealer
Apply to the Right Areas
The half moon of the undereye circle might be where you think you want to put your concealer, but you need to apply to other areas for a better look. Instead of the half moon, I apply in an upside down triangle, though I concentrate a little bit more of that concealer into the half moon area. I also apply a bit in the inner corner and up onto the nose a tad, where it is darker. Then I swipe the concealer wand around the curves of my nose as well. You do need to be careful not to get the concealer really close to your lower lash line as it will crease there, I basically stop the concealer right where my lower lashes cover the skin. I blend with tapping my fingertip over the concealer and then patting with a Beautyblender Sponge.
Blot Your Concealer
Once that concealer is on my skin, I think to remove a bit of the concealer’s base, leaving just the pigment on my skin. I very lightly pat with a tissue to do this, it really does make a big difference in caking later on.
Lightly Set with Powder
Now that I’m a bit older, I no longer set my whole face with a lot of powder. But, I really do need to set my undereye concealer with some powder if I want it to last past mid-day. The baking and super layering of powder that you might see on YouTube is something you must avoid, completely avoid once you’re over a certain age. And I am definitely over that age. The huge amount of powder used in baking looks terrible on me and just ages me like nothing else.
Instead, I use a powder trick from Jeffree Star. It’s in this video, at the 8:00 mark.
Basically, you can see that with a barely damp Beautyblender Sponge, a small amount of powder (I use the Laura Mercier Translucent Powder) will completely disappear into your skin. It’s perfect!
 I’m a doctor, a mommy and a bit of a beauty addict. If you let me, I can take 2 hours to get ready in the morning. Really. I'm on a quest for faster beauty that works!
I have terrible hereditary dark circles. Now being 48 they are deeper and drier. My eyes are also sunken in at the “tear trough” I have tried color correction and every concealer, I have let Mac and Sephora try but nothing seems to cover them.
Unfortunately nothing can cover or correct a shadow from the sinking. You can minimize the effect a little by using pearlescent products like the Laura Mercier Secret Brightening Powder, but in order to really make the shadow go away you would need to have a filler injected to reverse the sinking.