
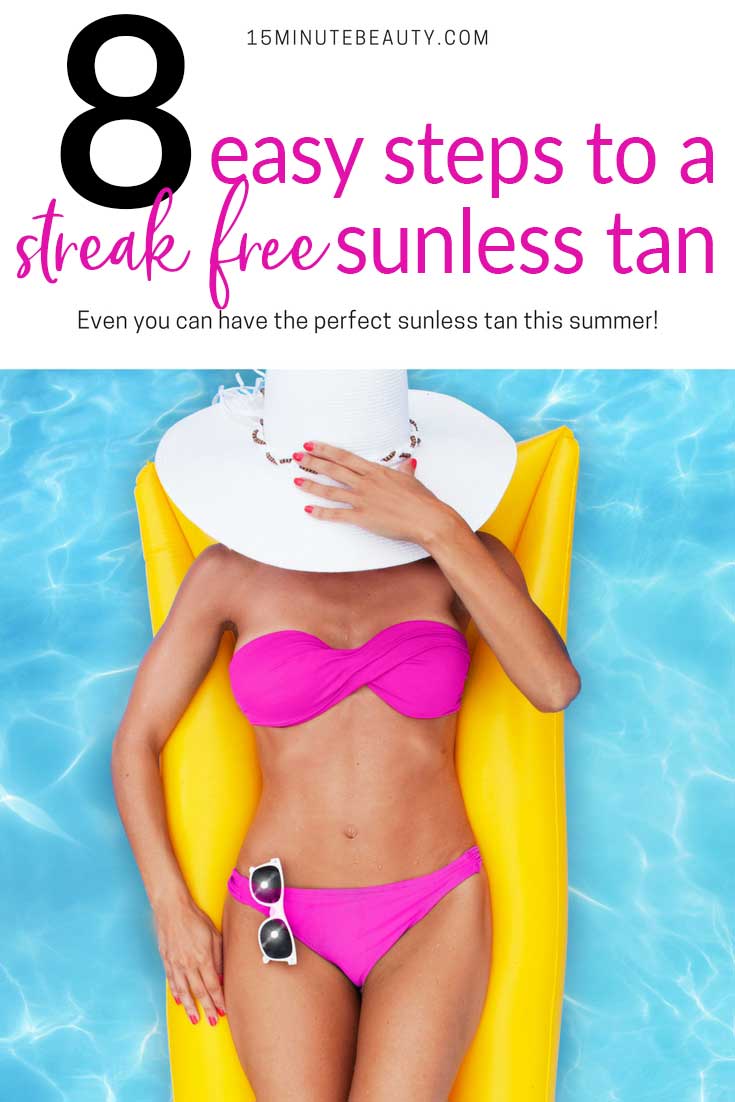
I’ve been using sunless tanners for years to achieve the perfect mid-summer glow. My least favorite part of using self tanners is discovering streaks! After waiting while my tan develops, it can be very disappointing to see a big streak down the side of my knee or around my ankle. Here are some of my favorite tips for a perfect streak free self tan!
#1. Select Your Tanner Shade Carefully
For years I made the mistake of always buying the “light” sunless tanner. I have light skin, so that was the correct choice, right? Actually, sunless tanners are labelled by their intensity of effect. If you want a little bump up in color, go for light. Want a more dramatic look? Go for medium or dark.
#2 Always Exfoliate First
The first rule of sunless tanning preparation is to exfoliate first. Because the tanner will work on the very outer layers of your skin, you want them as smooth as possible! This will result in more even application and your tan will last longer. I use a washcloth or loofah gloves to gently scrub my skin while in the shower. I pay extra attention to dry areas such as my knees, elbows and ankles.
Make sure you shave as soon as you are done exfoliating. Shaving will also exfoliate the skin gently, and you want to shave after exfoliating so you will get a super close shave.
Note, I don’t usually use a scrub before using sunless tanner because if any residual oil is left on my skin it can result in patchy application or streaks. If you really want to use a scrub, try on that is not oil based or is meant specifically for exfoliating before self tanner.
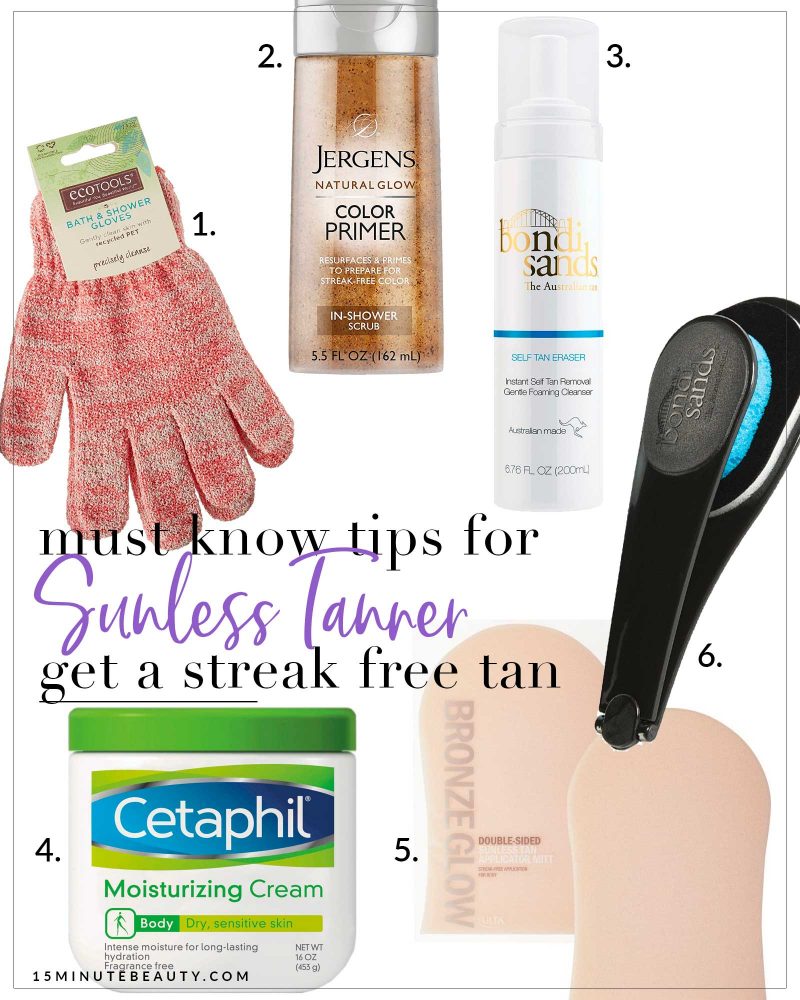
Try:
1. EcoTools Shower Gloves
2. Jergens Natural Glow Color Primer Exfoliating In-Shower Body Scrub
If you already have a sunless tan, you’ll also want to remove any sunless tan before reapplication. Exfoliating will remove most of your tan, but you can also try a sunless tan remover.
Try:
3. Bondi Sands Self Tan Eraser
#3 Moisturize Selectively
Dry areas of skin will absorb a bit more of your sunless tanner, resulting in an uneven tan. Once I get out of the shower I moisturize areas of my body that are dry or tend to be difficult to tan evenly. Typically this means I’m applying the moisturizer to my feet, ankles, knees, elbows and knuckles. I like to use a thick cream for this, such as Cetaphil. Don’t apply moisturizer to any other areas of your body, and you’ll want to make sure the moisturizer that you are using is water based rather than oil based. You still want product to penetrate the moisturizer, and an oil based product will block that process.
Try:
4. Cetaphil Cream
#4 Use an Application Mitt
An application mitt will ensure more even application of your sunless tanner. I put the tanner in the center of the mitt and then fold it in half to evenly distribute tanner on my mitt. The sponge texture of the mitt will release product evenly as it is applied. I just wash it in the sink with a bit of hand soap when I’m done.
Try:
5. ULTA Sunless Tan Application Mitt, or double sided version
There are some areas such as the middle of your back and between your fingers that are hard to get just right. Use a sponge brush (yes, a cheap paint brush from the hardware store) to apply just the right amount of sunless tanner to the backs of your hands and between your fingers. You can also use the brush to blend product into tricky areas such as your elbows. To reach the middle of your back, consider using a back applicator on a stick.
Try:
6. Bondi Sands Back Applicator
#5 Don’t Skimp on Product
Most people tend to skimp on product when applying sunless tanner, thinking that applying too much will result in streaks. This is actually backwards. You can’t “overdo” the self tanner, since your skin can only absorb so much. So, be liberal in your product application, the streaks come from areas that weren’t well covered!
#6 Small Circles are Your Friend
I think it is easier to completely miss areas of my skin when applying my sunless tanner in strips. Rather than moving up and down my leg in long narrow bands, I move in small circles all over. This helps to ensure that I’ve hit every last spot and it also helps to distribute the product more evenly, blending it multiple times as I move along.
#7 Start at the Bottom
You’ll need to start working at your feet and slowly work your way up. If you bend over, you’ll end up creasing your stomach and other areas, disrupting your hard earned blending.
#8 Let it Dry Completely
Once your tanner has been applied, sitting around and waiting to get dressed can seem like forever. I wait at least 20 minutes before putting on any clothes. I wear dark, loose clothing which won’t cause streaks in my tanner. I wait a few hours before putting on shoes, my feet seem especially prone to having mistakes in my tanner.
What are your favorite sunless tanners to get a great mid-summer glow? I’m sharing my favorite sunless tanners for pale skin.
 I’m a doctor, a mommy and a bit of a beauty addict. If you let me, I can take 2 hours to get ready in the morning. Really. I'm on a quest for faster beauty that works!